The two painted sliding doors are finished! I talked about the work-in-progress of this awesome commission by Eva Lebens and family here. The doors close off two bathrooms in their newly renovated and soon-to-be open beautiful Airbnb location in Voorburg, the Netherlands.
In the past few days, after we brought our kids to bed, I would drive back to my studio to apply layers of varnish to the doors. This way my well-respected studio neighbours would have the least problems with the smell of the glossy varnish.
PICTURE 2 of 12 - One of The finished sliding doors with a blue background and pink side hanging in one of the bedrooms available in the airbnb location in voorburg, the netherlands
Yesterday I delivered the doors at the two-bedroom Airbnb location.
Refurbished
Eva took the opportunity to show Janette and me around and show the progress made in the past few weeks renovating and decorating the bedrooms, kitchen and living room. The interior is really unique and has an 'eclectic' vibe to it. Almost every object has a story and many of them are painted or refurbished.
Picture 3 of 12 - One of The finished sliding doors with a orange background and pink side hanging in one of the bedrooms available in the airbnb location in voorburg, the netherlands
Continuation of the painting process
The pictures below show the painting process where I left off in this previous blogpost on the sliding doors. Personally I always like to see how an artwork is made so I hope you like it that I am sharing lots of progress shots here.
For more work-in-progress shots, follow my Instagram account.
As with many of my paintings, the layers I started with aren't visible in the final artwork anymore. It also took several layers of paint to find the appropriate colours.
Picture 4 of 12 - The finished sliding doors WAITING TO GET THEIR VARNISH.
The Gap
When I see final paintings I always think of an article I once read, about the creation of art.
An experienced artist described how he, as a beginning artist, experienced a large 'gap' between the vision in his head and the things he actually produced. Most beginning artists struggle to re-produce their vision in their first few years. But as the experience of the artist grows, the gap between imagination / vision and the final end result gets smaller and smaller.
Three visible layers
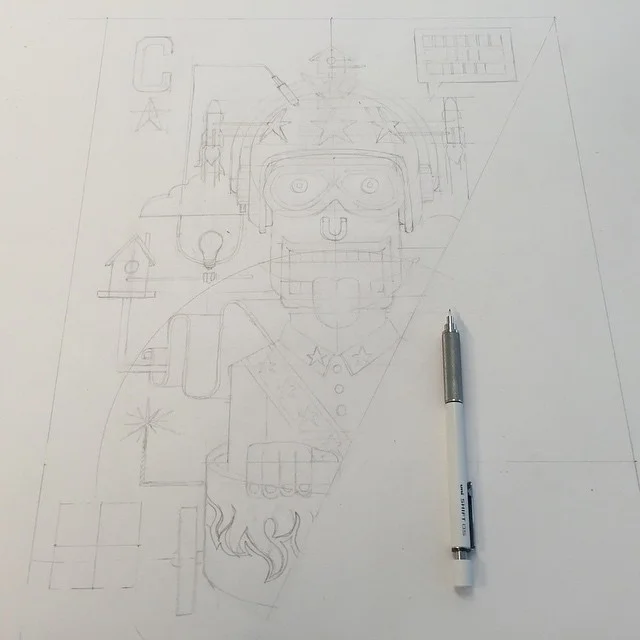
My initial idea was to combine three visible layers. A coloured background, a middle layer with extra large, semi-transparent Bold Lines and a top layer with white 'regular' Bold Lines. But while I applied the final layer of white lines, I noticed that the middle layer probably wouldn't be recognisable anymore. No problem at all, but certainly different from what I had envisioned.
Picture 5 of 12 - the orange version of the sliding doors on the improvised bench - the doors are too large to paint standing up
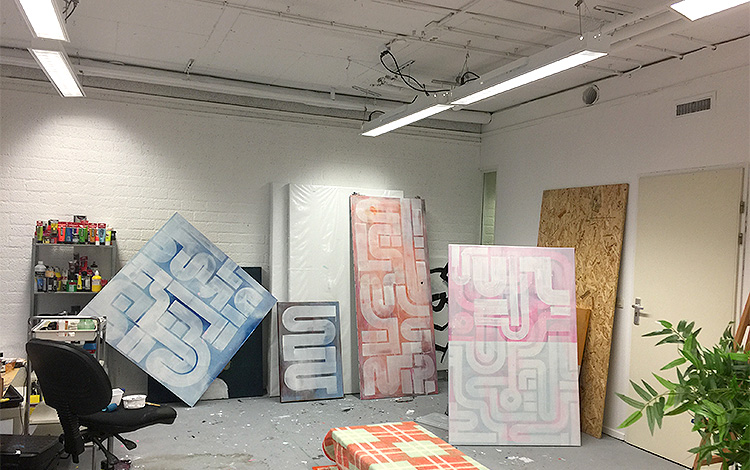
Picture 6 of 12 - The first layer of the bold lines in the sliding doors together with two other paintings i am currently working on
Picture 7 of 12 - Nice overview of various steps in the painting process of the sliding doors.
Picture 8 of 12 - Progress shot while I am applying the final layer of white paint
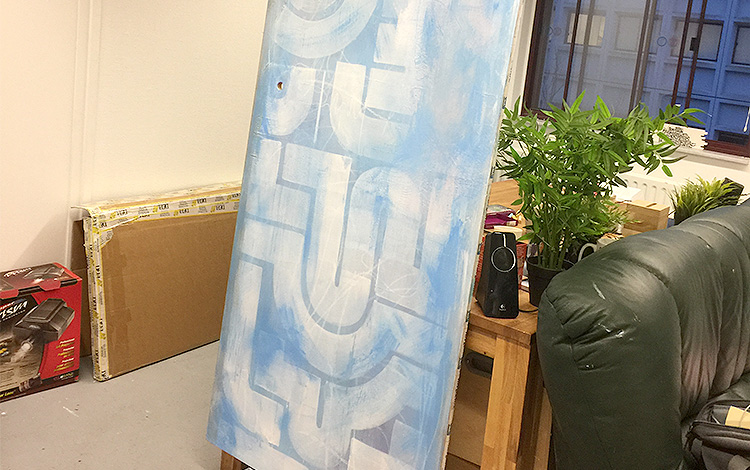
Picture 9 of 12 - CLOSE UP OF THE BLUE VERSION OF THE finished sliding doors
Picture 10 of 12 - CLOSE UP OF THE ORANGE VERSION OF THE finished sliding doors
Picture 11 of 12 - THE SIDES OF THE DOORS PAINTED PINK.
Pink sides
I remember seeing the sides of a door painted in a neon color once in an interior design magazine. Really cool because of the small area that's covered in a striking color. Not to obvious but enough to attract a bit of attention. The small strip of striking pink coincidentally happend to also match some of the interior accessories.
Glue
Although the pink sides are just a small part of the painting, pulling the tape off that protected the front and back side of the doors, still was an exciting moment. I wasn't sure the tape that I had used would leave glue residue. Or worse, would damage parts of the painted surface. Fortunately none of this happend and I had more trouble brushing away pink paint on the front and back.
PICTURE 12 OF 12 - ME TAKING A TERRIBLE SELFIE WHILE PREPARING TO APPLY THE VARNISH LAYERS
The finished sliding doors
